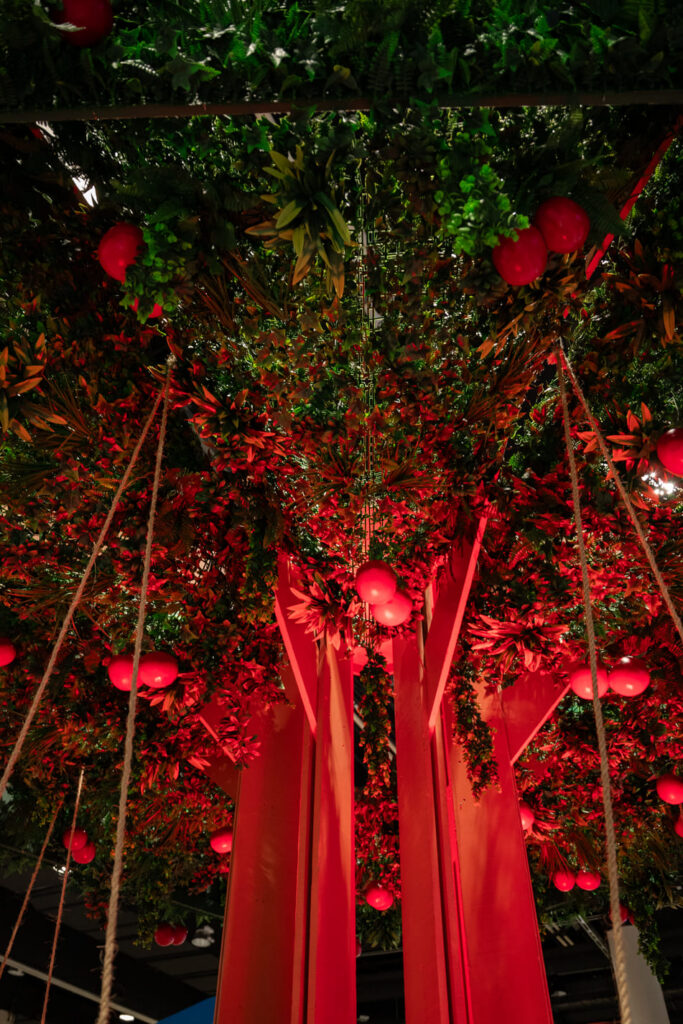
In a 10x10, build around one message and one activity: a strong back wall, a single product demo, or a small meeting counter. A 10x20 gives you room for a second zone, usually a demo area plus a place to talk. Below are ideas for each size, what actually changes between them, and where to spend first when the budget is tight.

Ideas for a 10x10 booth
A 10x10 gives you 100 square feet. That is enough for one strong visual and one main activity. Trying to fit more usually weakens both.
- A back wall with one message. Put your company name, one line on what you offer, and one supporting visual on a large-format graphic. Add a compact counter in front or to one side for conversations and lead capture. Best for brand awareness and lead generation.
- One product, one demo station. Build the booth around a single product. A pedestal, counter, or mounted screen gives it a dedicated spot without extra structures. If you use a screen, place it where visitors can see it without blocking your main graphic. Best for launches and technology exhibitors.
- A counter and two stools. A small, branded meeting point is enough for short conversations with prospects. A full lounge setup eats floor space you can’t spare. Best for professional services and business development.
- A layered wall. If you have several related products, skip the extra display stands. Use one custom wall with dimensional lettering, printed graphics, and a small lit feature. A recessed shelf or niche can hold samples without turning the booth into a storeroom.
Ideas for a 10x20 booth
A 10x20 gives you 200 square feet. The extra space should support a second activity, not just more decoration.
- A demo zone and a meeting zone. Give one half to a demonstration, anchored by a display wall or screen. Use the other half for a compact table and chairs, so your team can continue one-on-one conversations while the demo keeps drawing people in.
- A focal installation. A dimensional branded wall, a freestanding feature, or a custom structure that frames your display gives the booth a physical presence people notice from the aisle. Give it a clear job. If it only fills floor space, leave it out.
- Two display sections. If you sell more than one product line, split the booth into two sections, each with its own category. Matching graphics and finishes tie them together. Custom shelving and plinths keep it tidy.
- A presentation area. A screen, a defined standing area, and a branded backdrop let you run short scheduled demonstrations. Add a separate counter for follow-up. Plan for how many people will gather at once, so the crowd doesn’t spill into a neighbor’s space.

What changes between the two sizes
| Feature | 10x10 | 10x20 |
|---|---|---|
| Main feature | One branded wall or installation | A larger branded environment |
| Products | One featured product or demo | Several products, or a demo zone |
| Meetings | Short talks at a counter | A table or seating area |
| Structures | One principal structure | Several connected structures |
| Best for | One primary goal | Two complementary goals |
Two 10x10 spaces can also become one 10x20 exhibit, but only if the organizer assigns them together and approves the combined layout.

Check the exhibitor manual first
Before you fall for an idea, read the exhibitor manual. Height limits, sightline rules, hanging-sign permissions, electrical provisions, and installation requirements vary by show, and sometimes by booth type. Neighboring exhibitors can also affect what is allowed, especially in inline booths.
Two questions come up often:
- Can a 10x10 hold a video screen? Yes, if the screen, mount, and power fit your space. Confirm power and equipment rules with the organizer.
- Can a 10x20 have a hanging sign? Possibly. It depends on the show’s rigging, height, and approval rules, and on your booth classification. Confirm before you include one in the plan.

Small budget? Spend in this order
A tight budget doesn’t mean a weak booth. It means choosing what earns its place.
- Reuse the structure. Invest in a framework that can serve several shows, and swap the graphics to update your message.
- Make one graphic great. One well-designed back wall does more than several small signs competing for attention.
- Pick one custom feature. A distinctive counter, product display, or dimensional brand element beats a handful of decorative extras.
- Add furniture only where an activity needs it.
When you have to rank spending, go in this order:
- The main display, so your brand or product has a clear, finished presentation.
- The structure, so walls, counters, and displays meet the show’s rules.
- Lighting, to put focus on key graphics and products.
- Furniture and finishes, once the essentials are covered.
Final cost depends on booth size, materials, graphics, lighting, structural requirements, shipping, installation, and whether you store the exhibit for reuse.

A real 10x20 example
We designed a multi-day activation in a 10x20 booth at the Orange County Convention Center in Orlando. It was built for immediate comprehension in a crowded hall, which is the test every small booth faces. The footprint, the structural requirements, and the need to communicate fast all shaped the final design.
Our booths are designed for how they read from thirty feet away, within height limits and rigging rules. See the 10x20 multi-day activation for a closer look. If you’re weighing a layout for your own space, you can request a proposal, and we’ll talk it through.

Plan for more than one show
If you exhibit several times a year, think past the first event. Ask whether the main structure can be stored and reused, whether graphics can be replaced, and whether the same components can be rearranged for a different footprint, as long as the show’s rules allow it.
Our Orlando shop handles scenic carpentry, metal fabrication, scenic paint, large-format print, CNC routing, and installation, so structure, graphics, and logistics get planned together. Learn more about our custom trade show booths.
Two related reads: how to create better visitor flow inside your booth, and what attendees notice first about it.

Planning a 10x10 or 10x20?
A small booth doesn’t need more structures to make an impression, and a 10x20 doesn’t need to fill every square foot. Start with what you want visitors to do, then build the booth around it.
We design, fabricate, install, and strike custom trade show booths. Request a proposal, which is free with no obligation, or call 407-574-4323, Monday to Friday, 9 to 5 ET.